You show up for your flight or concert excited, then realize your lost ticket is gone, or your scan fails. That sinking feeling hits fast. The good news, though, is that most issues get handled quickly when you have proof of purchase.
This guide walks you through what to do next. You’ll start with immediate steps, then cover help for lost physical tickets, recovery for digital tickets, and solutions when your ticket is not accepted at the gate. You’ll also see how major sellers like Ticketmaster and Eventbrite typically handle these problems, plus what to do for airlines under 2026 guidance.
Ready? Here’s the step-by-step plan.
Take These Immediate Steps If Your Ticket Disappears
Before you panic, do a quick “where is it?” sweep. Tickets do not vanish out of nowhere. They usually hide in the same places your order email hides.
First, check:
- Your phone wallet app (Apple Wallet or Google Wallet)
- Your bag, jacket pockets, and any old envelopes
- Your email inbox (search for the event name, “receipt,” or “order”)
- Your event or ticket apps (Ticketmaster, Eventbrite, airline apps)
Next, take a photo of anything you do find (paper stubs, printed confirmations, screenshots). Then grab your order details.
After that, contact the seller or venue as soon as possible. Use your order number and include the same ID you used to buy. If you’re going to the box office, arrive early. Staff can often help before lines get long.
Tip: if the event is today, aim to get support during normal hours or right when doors open. Many venues can fix access issues while scanners and staff are still available.
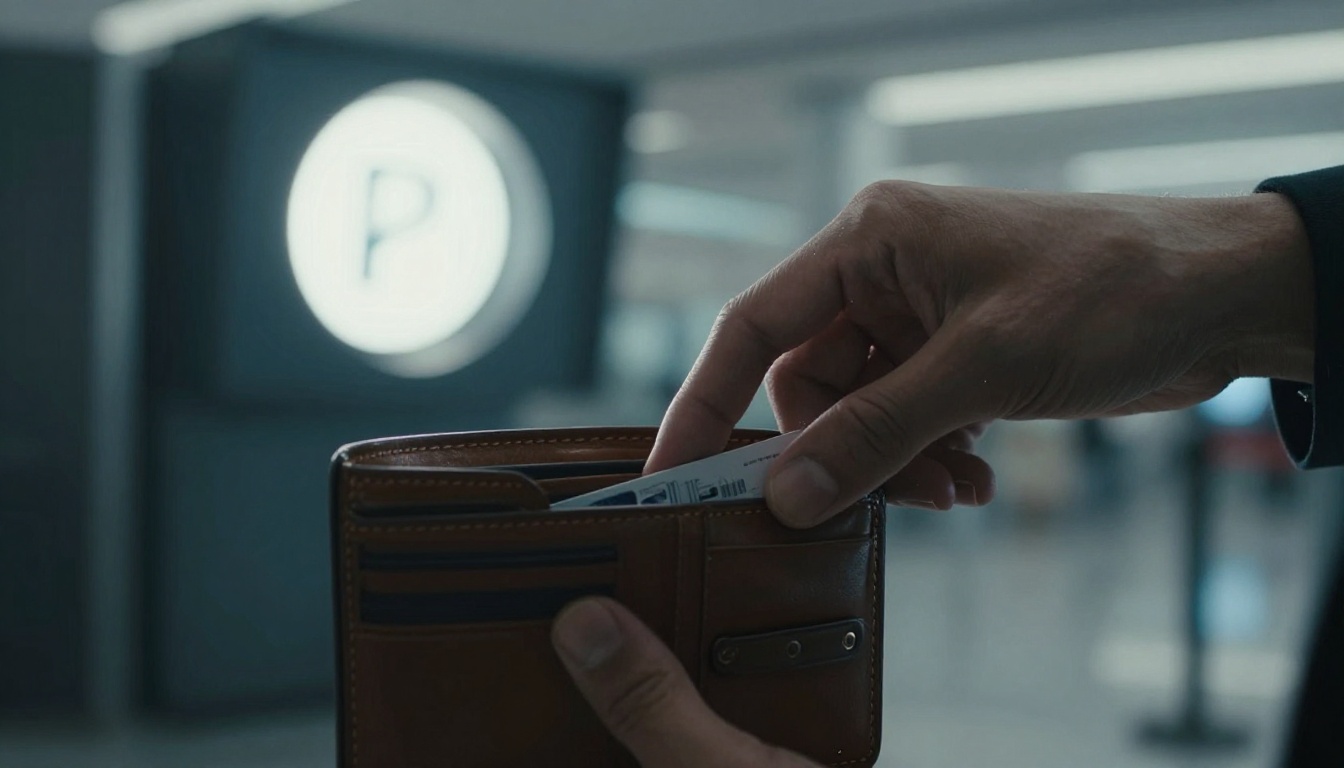
Gather Your Proof of Purchase Right Away
Proof matters because support teams need to confirm you’re the buyer and match you to a seat or booking. Without it, you’ll spend time arguing about details instead of solving the problem.
Save anything that shows your purchase:
- Order confirmation emails
- Receipts (email or PDF)
- Credit card or bank transaction history
- Screenshot of the ticket confirmation page
- Any QR codes or ticket numbers you still have
Even a partial email works if it includes the order ID. If you paid through a card, the last four digits can help too.
For everyday examples, think about this: your concert ticket email might look like a normal receipt. Your flight booking might show a confirmation code. In both cases, that proof tells the system who you are.
If your ticket was supposed to load in an app, screenshot the error or loading screen as well. It gives staff a clue, especially when your ticket is “there,” but won’t display.
Why Speed Matters Before the Event Starts
Timing affects what staff can do. Some tickets can be reissued or re-linked, but only while the event system allows it. Once a gate process starts, teams have less flexibility.
Also, tickets sometimes get marked invalid if they were scanned or if the listing changes. That can happen when a ticket was duplicated, re-sent, or shared accidentally. It can also happen if a browser or app glitch shows the wrong state.
So act fast:
- Contact support early
- Go to the venue box office before the big rush
- Keep your phone charged (and bring a portable charger if you can)
For Ticketmaster, their help guidance directs you to contact Fan Support if your tickets are lost, stolen, or damaged, and to have your order number ready. Replacement is not guaranteed for lost tickets, so speed helps you reach the right solution faster: Ticketmaster help for lost, stolen, or damaged tickets.
How to Replace a Lost Physical Ticket
Physical tickets can feel harder to fix because staff often needs the exact seat or barcode state. Still, they’re not hopeless. Many venues can reprint or re-issue if you show proof and arrive early.
Start with the seller, not guesswork. Your seller might be the primary platform, a reseller, or the venue itself. Each one tracks your order differently.
Also, keep expectations realistic. Ticket replacement rules vary. Some sellers focus on digital access instead, especially when paper tickets are harder to validate.

Reach Out to Your Ticket Seller First
Your first move is usually the seller account you used to buy. Then ask support for the best option for a lost paper ticket.
What to say (simple and clear):
- You lost the ticket.
- You have the order number and receipt.
- You want the fastest reissue or box office reprint option.
If your purchase was through Ticketmaster, follow their process and contact Fan Support. Be ready for them to check your order details and advise what’s possible. Ticketmaster’s guidance is explicit about lost tickets needing support and not being universally replaceable.
If you used Eventbrite, go to your Eventbrite account and check for ticket access. Eventbrite’s help center focuses on helping you regain access when you can’t find your tickets: how to access Eventbrite tickets. If that fails, use Eventbrite’s help contact options: Eventbrite help contact options.
For resellers like SeatGeek or StubHub, you’ll usually need to log in and contact support through your order. Ask whether they can confirm your entry or provide an alternate barcode.
What Happens at the Venue Box Office
If you’re at the venue, the box office is often your fastest path. Arrive early because staff may only be able to handle so many reprints before doors fully open.
Bring:
- Your ID
- The order confirmation (email screenshot or printed copy)
- The credit card name or last four digits if asked
- Any proof that shows the event date and seat/section (if you have it)
Then be patient and polite. Staff may manually pull your order, confirm your seat, and print new tickets or verify you through the venue system. If your ticket is “not yet scanned,” some venues can still fix it.
If you used a reseller, box office staff may tell you they can only verify, not reprint. In that case, your goal becomes getting your entry confirmed and your barcode activated.
Bring proof. Without it, even friendly staff can’t override the system.
Get Your Digital Ticket Back Online Fast
Digital tickets are usually easier, especially when your ticket is linked to your account. If your ticket disappeared from your phone, don’t assume you’re out of luck.
Start with the ticket app or confirmation method:
- For Ticketmaster, check your account or app under “My Account.”
- For Eventbrite, check your ticket email and the Eventbrite app.
- For airlines, use your airline app or “Manage Booking.”
If your ticket won’t show, it’s often a login mismatch, app cache issue, or network problem. Meanwhile, screenshots can still help at the gate.
At the door, show staff the best proof you have. If you can’t load the QR code, show your confirmation screen, your order email, or your booking details.
Quick Tech Fixes to Reload Your Ticket
Try these fast fixes, in this order:
- Log out, then log back into the ticket app.
- Update the app (or restart your phone).
- Clear app cache (Android) or reinstall (if needed).
- Try a second device, if you have one.
- Forward your ticket email to yourself and reopen it on your phone.
Also, add the ticket to your phone wallet if the app offers it. Then screenshot the ticket confirmation page. Screenshots may not always work for scanning, but they help staff locate your order quickly.
One more practical move: charge your phone. Low battery can turn “it loads fine” into “nothing displays” right at the gate.
Support Contacts for Major Providers
Here’s what to do when you need help reconnecting your ticket system fast:
| Provider | Best first action | Have ready |
|---|---|---|
| Ticketmaster | Fan Support, then box office if needed | Order number, purchase card details |
| Eventbrite | Check ticket access in your account and email | Email address used at checkout |
| Airlines | Use “Manage Booking” or go to check-in/gate | ID and booking reference |
If the ticket scanner fails, staff can often confirm you by booking info. Your job is to walk in with the right details.
Fix It on the Spot If Your Ticket Gets Rejected
A “ticket not accepted” message feels like a personal problem. It’s usually a system problem. The gate computer may not recognize the barcode, or it may think the ticket was already used.
First, confirm what the message means. Then ask the nearest supervisor for help. Don’t argue with the first agent who scans you. Go up the chain if needed.
Common “gate fix” outcomes include manual entry, alternate barcode verification, or confirming you against the guest list.
Common Reasons and Gate Solutions
Most rejections fall into a few buckets:
- Glitch: ask for a manual check, then show your order email.
- Duplicate scan: the system may block the ticket, so staff will verify and reissue if possible.
- Wrong event or date: confirm the event code and ask them to check the correct booking.
- Fake or altered ticket: the safest path is to contact your seller and request a verified replacement.
If your ticket looks correct but still fails, assume it’s not the paper itself. It’s how the system reads it.
When to Push for a Refund or Replacement
You can ask for a replacement when staff confirms your ticket is invalid due to an error, not because you lost it. If the issue is seller-side (wrong scan state, system error, duplicate assignment), push for a replacement as the first option.
If you bought from a reseller, ask what their policy covers for invalids or late entry. Policies vary by seller, but many will offer a remedy when they can confirm your order was affected.
If all fails at the gate and you cannot get entry, the final step is often your payment method dispute. That’s a last resort. Support and documentation come first.
Prevent Ticket Headaches for Your Next Event
Prevention is simple, and it starts right after purchase. Save your confirmation email. Then store the receipt PDF or screenshot in a folder.
Also:
- Create your seller account right away
- Keep the same email you used for checkout
- Add tickets to your phone wallet when offered
- Bring a backup screenshot for the gate
Most problems happen when you only rely on one way to access your ticket.
Conclusion
If your ticket is lost or your ticket not accepted, act fast and stay organized. Start with your proof of purchase, then contact the seller or head to the box office. For digital tickets, reload the app, confirm your account login, and show your best proof at the gate.
When you’re ready to go next time, save every order email and screenshot. That small habit turns a scary moment into a quick fix.