Missing out on a hot concert is painful, especially when you know you were one click away. You find the event, see the seats, and then checkout falls apart because you weren’t ready. That stress hits harder in 2026, since dynamic pricing changes fast and more venues use mobile-only tickets.
The event ticket process isn’t random. It has a clear flow, from picking a safe site to confirming your order and getting into the venue. In this guide to buying tickets for events, you’ll follow a simple path that helps you avoid common mistakes, especially during high-demand sales for concerts, sports, and festivals.
Now let’s get you set up so you can focus on seats, not chaos.
Start Smart: Pick Your Platform and Get Set Up
Before you buy anything, you need the right platform and a setup that won’t slow you down. In the US, primary sales often run through large ticketing partners, while resale markets handle sold-out demand. For festivals, you may also see community event tools like platforms that host smaller shows.
For safety, stick to official sites or well-known resale marketplaces with buyer guarantees. Also, since many tickets ship to a phone, you’ll want a mobile setup that works before the sale starts.
Here’s a quick way to decide where to look first.
| Platform type | Best for | Key strengths |
|---|---|---|
| Official primary marketplace | Big concerts and major sports | Fast access to verified inventory |
| Major resale marketplace | Sold-out dates and last-minute seats | Buyer guarantees on many orders |
| Festival/community ticketing | One-off events and smaller tours | Flexible event pages and RSVP-style flows |
When resale is involved, verified resale matters more in 2026. Fraud tools keep getting better, so secure checkout and ticket transfer rules matter too.
Also, watch for presales. Many people use Amex, Visa, or artist promos (and sometimes music-related partners) to get earlier access. If you see a presale code, save it somewhere you can copy fast.
Use this prep checklist before any sale time:
- Create your free account on your chosen platform(s)
- Save your payment info (so you don’t type during a rush)
- Turn off VPNs and close extra tabs
- Check that your phone can receive texts and email alerts
Finally, use the official guidance when you can. Ticketmaster, for example, publishes practical tips for smoother buying, including advice on avoiding bot-like behavior that can trigger blocks (Ticketmaster buying tips and advice).
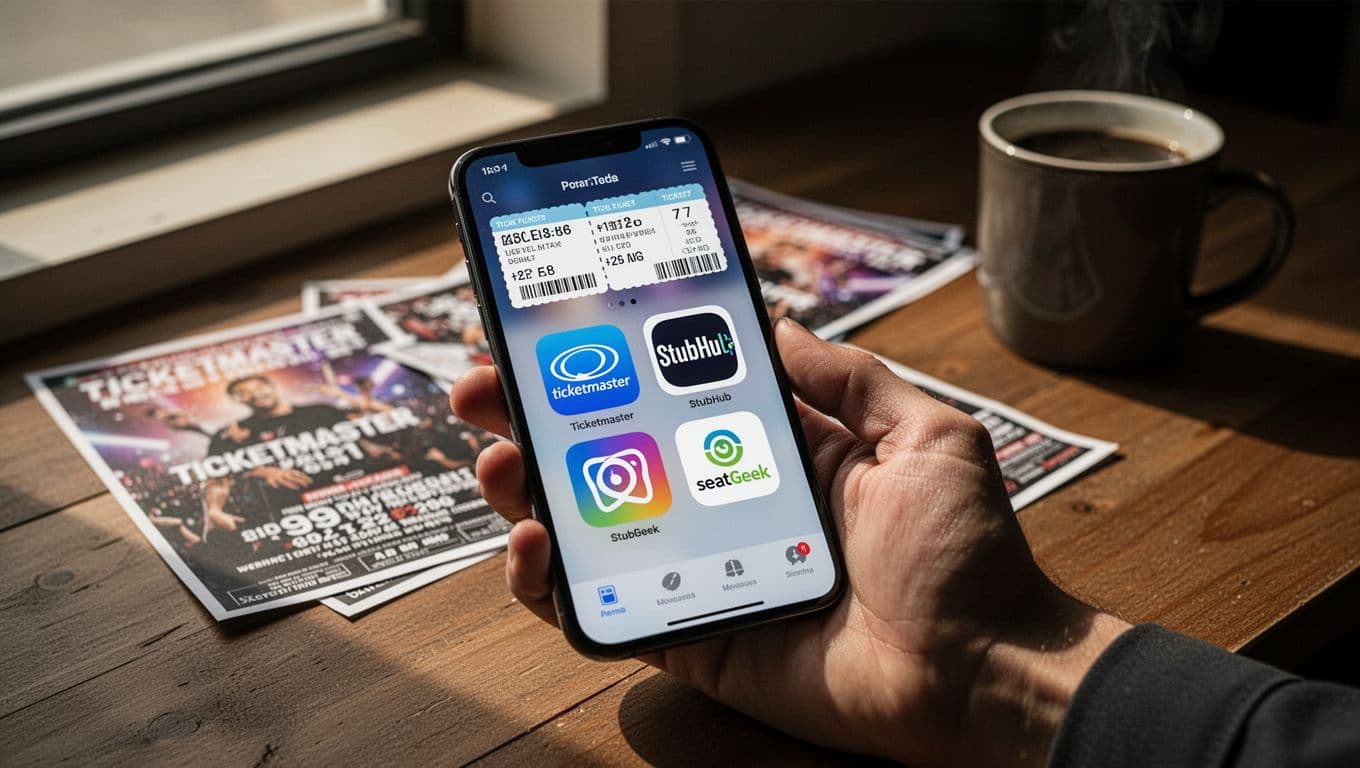
Top Platforms and What They Do Best
Different sites shine in different moments. Official partners are often best when tickets first drop. Resale sites help when demand outpaces supply. Event tools can work great for festivals and local shows.
Here’s what to remember while you compare:
- Ticketmaster: strong for major concerts and sports, but you may need to handle waiting rooms or timed entry.
- SeatGeek and similar resale brands: look for buyer guarantee language before you commit.
- Vivid Seats: also pushes a buyer guarantee model, which can help reduce risk on sold-out searches.
- Eventbrite: often useful for smaller events, including festivals with multiple vendors or venues.
If you want a simple safety check for resale, review the guarantee page first. For example, SeatGeek explains its Buyer Guarantee terms here (SeatGeek buyer guarantee). For Vivid Seats, the buyer protection page lays out how they describe coverage (Vivid Seats buyer guarantee).
One more 2026 note: some resale listings appear on social media. Even if the price looks tempting, avoid “DM to buy” deals. Use platforms that can enforce verification and transfers.
Quick Account Setup Tips
Accounts that aren’t ready are the fastest way to miss tickets. So set everything up ahead of time, then test your login the week before.
Do these steps in the order that keeps stress low:
- Sign up with the email you actually use.
- Verify your email, then log in once from mobile.
- Add billing details and confirm your name matches.
- Turn on phone alerts for your account and confirmation emails.
If you’re worried about browser issues, keep your plan simple. Use one browser on one device, and stay logged in. If you switch devices during the sale, you can lose time and miss a countdown moment.
Also, double-check your passkey or saved login settings if your phone supports them. Then, on sale day, open the event page early so you’re not searching while demand spikes.
Hunt and Choose: Find Your Event and Perfect Seats
Now you move from prep to action. The big trick is to search quickly, then make one decision, not five. Prices can shift during checkout due to demand, so your goal is to lock in the right option before the “maybe later” feeling kicks in.
In 2026, many buyers also prefer mobile delivery. That means you’ll want to confirm your phone can store the ticket and receive any access link on time.
Start by finding the event with clear filters. Search by:
- event name
- city or venue
- date
- ticket type (general admission, reserved seats, VIP)
Then be smart about timing. Presales and waiting rooms often start early. If the sale time says 10:00 AM, start loading the page around 9:45 AM. When the queue opens, do not refresh repeatedly. Refreshing can move you backward.
For high-demand events, the best results usually come from a simple rule: use one device and stay focused.
Follow this event-hunting flow:
- Open the event page at least 15 minutes early.
- Choose ticket category first, then refine seat options.
- Compare seat views (not just price).
- Review fees and delivery method before paying.
- Confirm quickly once you see the right fit.
Also, don’t ignore dynamic pricing. When demand jumps, prices can rise across multiple sections. Ticket price headlines are common, but you may feel it most at checkout. TicketNews covered how pricing practices and “price-surging playbooks” have drawn attention, especially around major sellers (TicketNews report on price-surging practices).
Meanwhile, buying too early can leave you guessing. A lot of fans buy within a short window as inventory shifts, and prices can move again near the final week.
Mastering the Search and Timing
Search is where most people waste time. You can cut that down fast.
Seat inventory moves, so your timing plan matters. Try these tactics:
- Use saved event favorites or alerts so you don’t hunt on sale day.
- Join queues right when they open, then wait for your turn.
- Keep the device awake and stable, especially on mobile.
- Have a backup section in mind (like “good view” or “near the aisle”).
- If you miss the first try, don’t panic. Some releases happen in waves.
If you’re buying for multiple people, decide early how you’ll handle seat grouping. Some events let you choose exact seat pairs, while others restrict grouping for rule reasons.
Most importantly, avoid “tab sprawl.” Every extra tab increases the odds you click the wrong thing when time runs out.
Picking Seats Without Regrets
Choosing seats is part math, part vibe. The best seat isn’t always the closest one. Sometimes the best choice is the one where you can see the full stage without turning your head all night.
When you pick, look for these factors:
- Sections and views: prioritize sight lines over distance
- Ticket type rules: general admission can change how you stand or sit
- Transfer limits: some tickets allow transfer, others do not
- VIP inclusions: check what’s included, not just the price
Fees can surprise you, so watch the final total as you click. Also, compare prices across apps only after you understand delivery rules. A seat that looks cheaper might cost more after fees, or the delivery could be different.
If you’re comparing two listings, check the same section level first. Then check the seat row range, if available. Finally, confirm you’re paying for the same ticket type (like reserved vs. VIP).
One simple strategy helps: pick the best option you can afford, then stop searching. Searching “one more minute” can lead to missing checkout.
Seal the Deal: Checkout, Pay, and Confirm Securely
Checkout is where your preparation pays off. If you rush, you can end up with the wrong delivery method, wrong ticket quantity, or a payment error.
First, sign in. Then confirm the event, date, and ticket type are still what you chose. Because dynamic pricing can change the totals, review the final screen every time.
Watch for scams while you pay too. A legit checkout stays within the platform. You should not be asked to buy via social media, gift cards, or cash apps from a stranger.
Here’s a safe checkout flow:
- Sign in and confirm the event name and date.
- Enter any presale code, if required.
- Confirm ticket quantity and delivery method.
- Double-check fees, total price, and seat section.
- Pay with your saved method and wait for confirmation.
Also, check the connection details. A secure page typically shows a padlock icon in the browser and uses HTTPS. Still, the bigger safety step is avoiding off-platform sellers.
If something feels off, stop. You can always restart with a new seat selection.
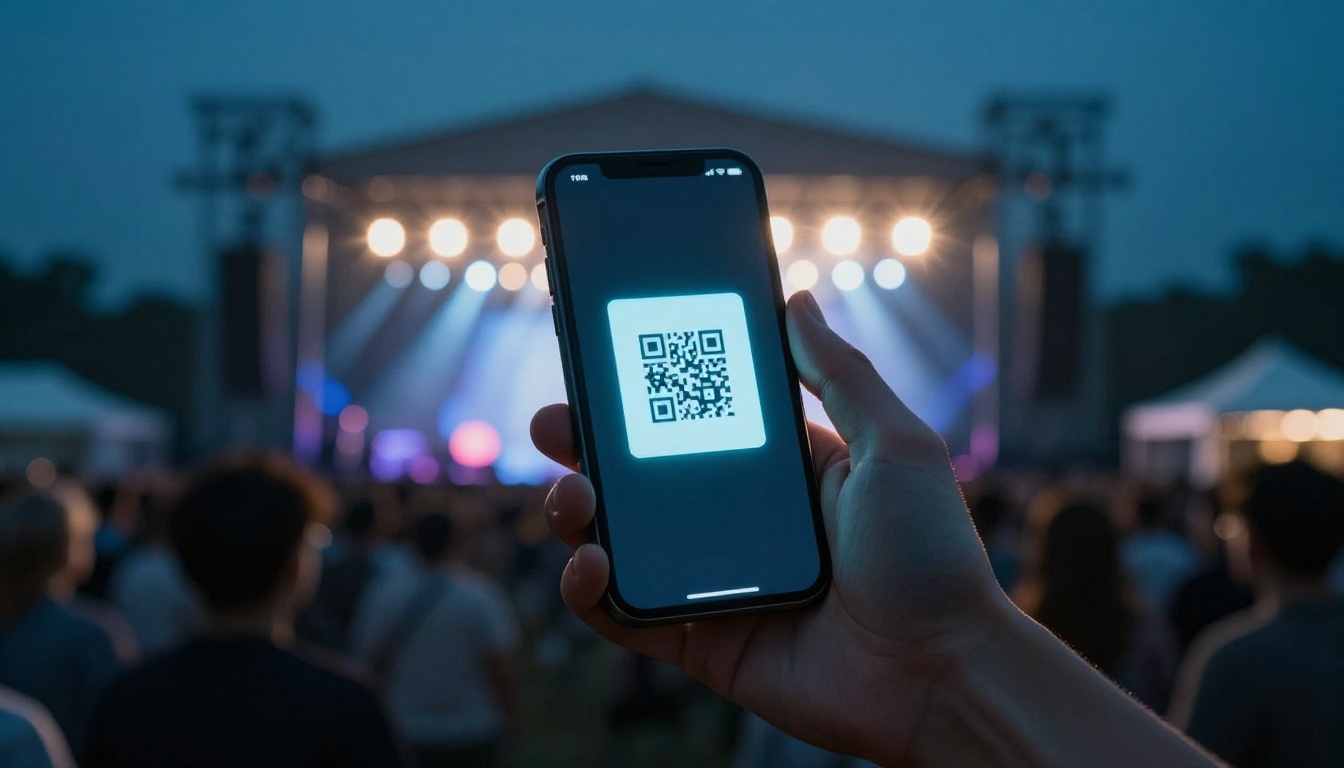
After payment, you should get instant confirmation. You’ll also receive email and often an in-app alert. Many tickets now use a QR code in a mobile wallet. That’s normal in 2026.
If you don’t receive confirmation right away, don’t keep guessing. Check your email spam folder and your account order history.
Safe Payment Methods That Work Every Time
Your payment method can protect you when problems happen. Credit cards are common because they make disputes easier in many situations.
Also, match your billing info. The name on your payment method should line up with what the platform expects.
Good options usually include:
- Credit cards (Visa, Mastercard, Amex)
- Debit cards
- PayPal on platforms that offer it
- Apple Pay (where available)
One more idea: if you use a presale code, keep proof of it. Save the confirmation email for your records. That makes it easier if you need support later.
After the Buy: Access Tickets and Head to the Event
You still have work after checkout. In 2026, the big difference is mobile entry. That means you should treat ticket access like part of the journey, not an afterthought.
What you’ll usually see after buying:
- an email confirmation
- an app update showing your order
- a QR code or wallet ticket you can open at entry
Sometimes ticket access can delay. Some platforms unlock tickets closer to the event date. Delays can happen up to 48 hours, depending on venue rules. So don’t wait until the night of the event to open your ticket.
Do this the day before:
- download the ticket to your phone wallet (if offered)
- charge your phone fully
- bring a backup option (like a phone charger or another battery pack)
At the venue, expect scanning at entry points. Staff may scan your QR code, or the venue may use a face-match check where permitted.
Bring a photo ID if the event or ticket type requires it. Many venues do this for VIP, premium sections, or specific age rules.
Finally, know your transfer options. If you need to share a ticket, use the platform transfer feature when allowed. Do not hand off screenshots. Screenshots can fail scan checks.
When you do all this, you avoid the classic last-minute panic. You walk in ready, phone charged, and your tickets ready to scan.
Ready to buy tickets with confidence
That moment you almost missed the concert? You can beat it with a clear plan. Prepare your account, pick safe platforms, choose seats with delivery in mind, and confirm everything at checkout.
Then act on the final step most people skip: after purchase, open your ticket and make sure it’s ready on your phone. In 2026, that’s the difference between smooth entry and a stressful scramble.
Want a quick start checklist? Save it for sale day:
- You’re logged in and alerts are on
- You know your backup section
- Your checkout screen shows the right total
- Your ticket is accessible in your app or wallet
What was the hardest part of the event ticket process for you, searching, checkout, or entry? Share your story in the comments, and subscribe for more event tickets 2026 process tips.